Showing posts with label printables. Show all posts

Wednesday, August 4, 2021

August 2021 - Forgery On The Fourth


FOF is back again today to show you how it's possible to look at the inspiration kit, see if there are any elements which you would love to incorporate into your own kit but that you don't have in your stash right now, and then take the idea forward to make your own version! 

Let's remind ourselves once more of the kit we are using this month for our inspiration:

Dani Peuss - May 2021 kit

And now onto the Design Team's ideas!

Master Forger Leslie has collected some free printable links for you.

Rectangle labels, circle labels (3 colorways), rainbows, 100+ planner elements, cut-apart cards, paper airplane, camera +14, mixed media paper, BONUS link 20 Quote Printables (not pictured)

Master Forger Julene has copied the idea of the photo corners plus stamped some big flowers like those in the kit.

Master Forger Misty created a forgery of a pattern paper from one of the kit's add-ons. She shares her process via YouTube, but you can also read more on her blog.

Master Forger Juliet forged one of the papers from Heidi Swapp Carefree papers in the kit. 

Super simple forgery, she just took her 1" stamp pads that she has that she best thought matched the colors (although you could do them the colors you want!) and dragged them across the 12x12 white cardstock.  So simple but love the results! She also pulled her corner punch and is ready to use that!

MF Lisa has been searching Pinterest for some interesting freebies for printing, die-cutting and all round good ideas!

Fynes Designs here 


Stoffanker here

Crafting My Home here

Harbour Home Breeze here

Ink Happy here

SVG Crush here

Caluya Designs here

MBH Designs has a great tutorial for making your own twine wrapped rainbow element which is so trendy right now and I think would be perfect for your kit in a mini-version!

Tutorial by MBH Designs here

And last but not least, I was interested in the random note letter style stickers and found these:

You could download this "Earwig Factory by Ray Larabie"font over at Daily Font and use it for hybrid journalling or just fill a page with the letters and cut them out fussy-cut style!

Earwig Factory font by Ray Larabie here

OR - and how cool is this? - use The Ransomizer which is a ransom note generator! You could type out the letters you want or even the journalling, select the look you want and then you get a note that you could print and cut out or just stick onto your page! I love it!

The Ransomizer here


We are just at the beginning of the month and we have so much to share with you! The rest of August is going to look something like this:

  • 6th August: Mini-kit Reveal and Project Showcase - inspiration for a smaller kit or project idea 
  • 12th & 18th August: Challenges #1 & #2 - to inspire you to get creating from your own kit 
  • 24th August: Follower Showcase - who has caught our eye this month 
  • 31st August: Killing Kits - an idea or two for using up the bits & pieces left in your kit box 

You KNOW that we always love to see your work, so please share your kits and projects with us. You can post them in our Facebook Community, or share them on Instagram (we are @counterfeitkitchallenge or tag us using #counterfeitkitchallenge and #ckcaugust2021). 


 Thanks so much for stopping by! We can't wait to see your kits and projects this month.


Lisa

Thursday, October 4, 2018

October 2018 - Forgery on the Fourth


The Wild Hare Kits September curated kit for their Guest Designer Mandi Holmes, unboxing video HERE. 
Let's see what our ever talented Master Forgers have tried for themselves, shall we?


Our Guest Designer, Becca, got busy the very day she received the inspiration kit! Head over to her blog for all the details.


Julene has forged one of the papers as seen on the YouTube reveal. It has been made using paint along the edge of a ruler with two different colours. The silver stripe was by dragging a square versa ink along the diagonal. There are also two washi tapes plus a thin strip of patterned paper. The original paper is #4 on the picture of the kit above.


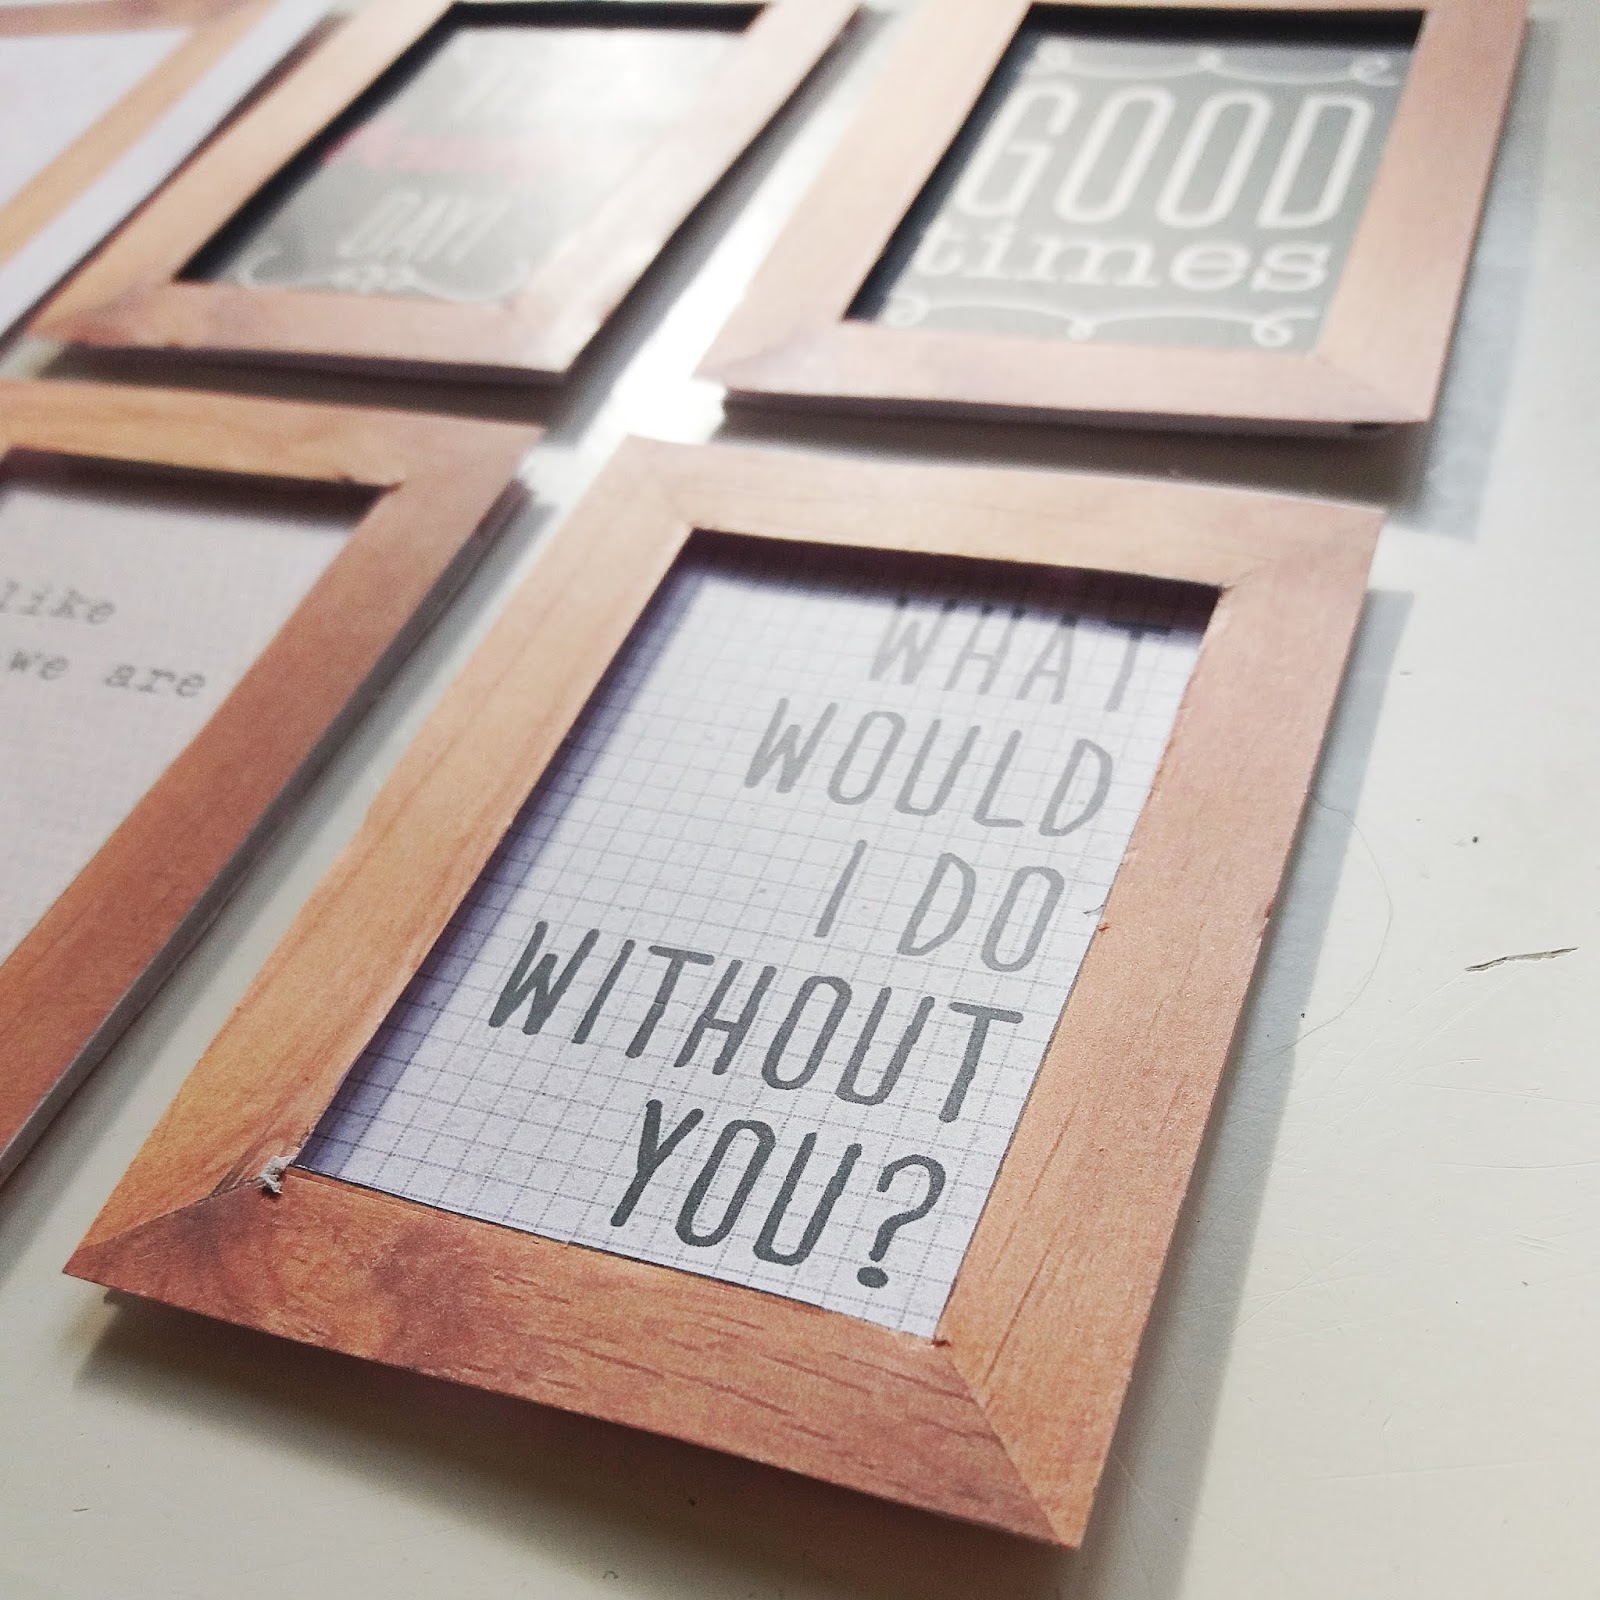
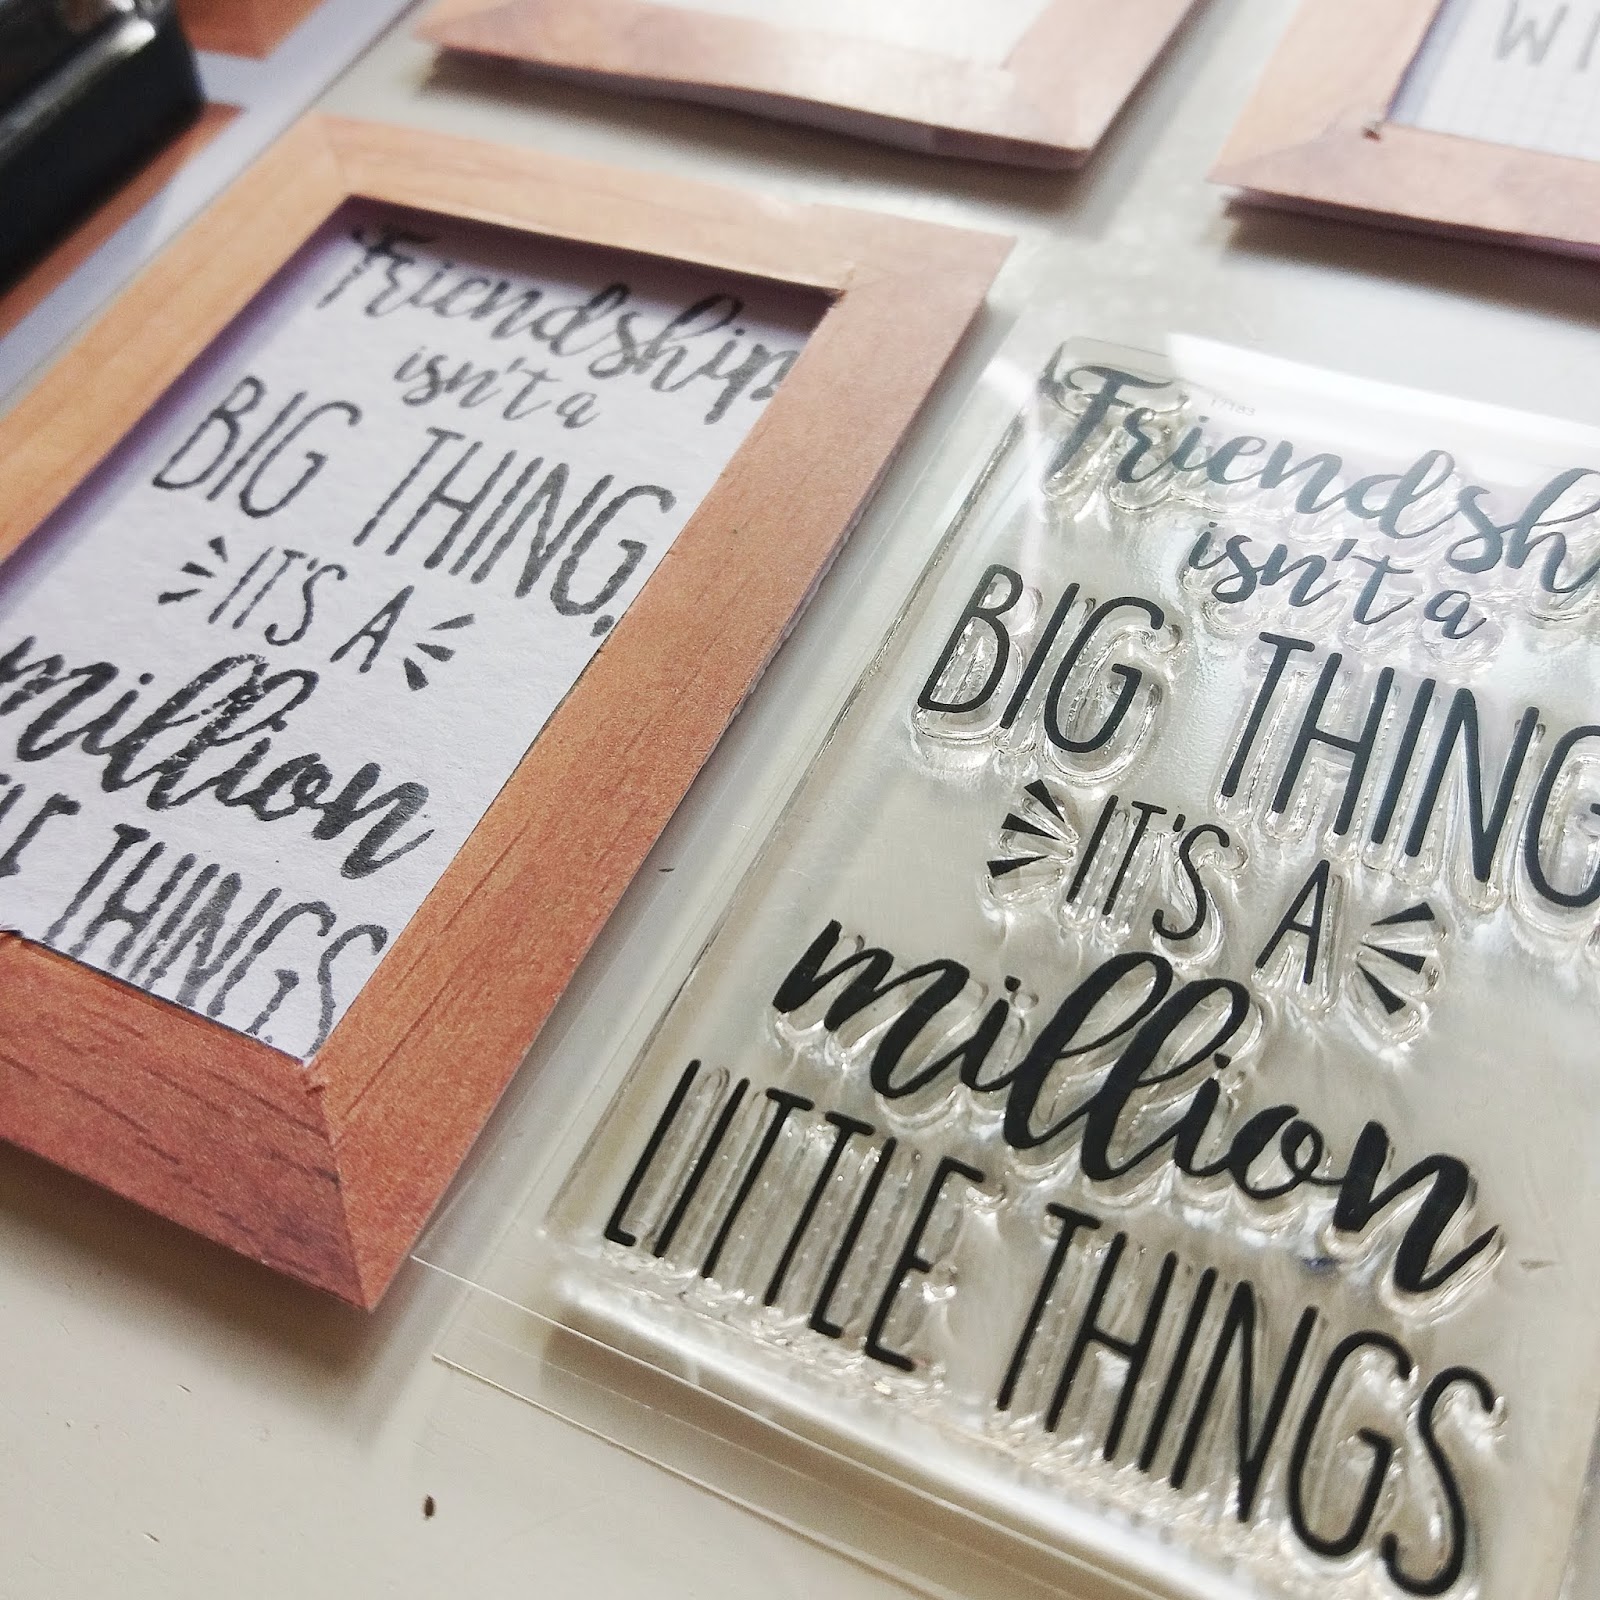
Laura tried her hand at the mini picture frame embellishments. "I sized and printed some project life style cards and some digital frames. Carefully cut them out and used foam tape to make them 3D. The last frame was made using a stamped sentiment on white card...quite a feat for me as i am not a stamper! I can't wait to use them on my layouts!"


Leslie got inspired & tackled a few of the papers & embellishments. More details on her blog.


Lisa got crafty with her Silhouette for a full set of words that match the woodgrain Thickers in the original kit. As ever, quick and easy but oh so effective!

You can see some more detail shots over on her blog here.


Don't forget to come back again on 6th for some mini-kit inspiration as well as the challenges on 12th and 18th. 

If you create any of your own forgeries, make sure you share with us! We love to see your creations and projects.  You can do this by using the Link-Up page here on the blog, posting in the Counterfeit Kit Challenge Facebook Community Group or on Instagram (find us @counterfeitchallenge and share with #counterfeitchallenge ) 

Thanks for joining us this month and we can't wait to see what you make.

Saturday, August 4, 2018

August 2018 - Forgery on the Fourth


Master Forger Cindy has chosen our inspiration kit this month.

https://www.cocoadaisy.com/product/july-2018-twinkling-of-the-tea-memory-keeping-12x12-kit/
July 2018 Cocoa Daisy Twinkling of the Tea Memory Keeping kit

Pocket kit

Cards only

Patterned paper add-on

Yummy warm color palette with the lovely fresh greens.
There are some little nods to Alice in Wonderland hidden in here...
Lots of painterly & sketchy pieces - channel your inner artist this month.
Break out that old hexagon punch!

Wonder what the team will pick up on?


Speaking of Alice in Wonderland, our recent Guest Designer Alice Boll of Scrapbook Wonderland gives a great quick tutorial on making your own patterned paper with stamps HERE.


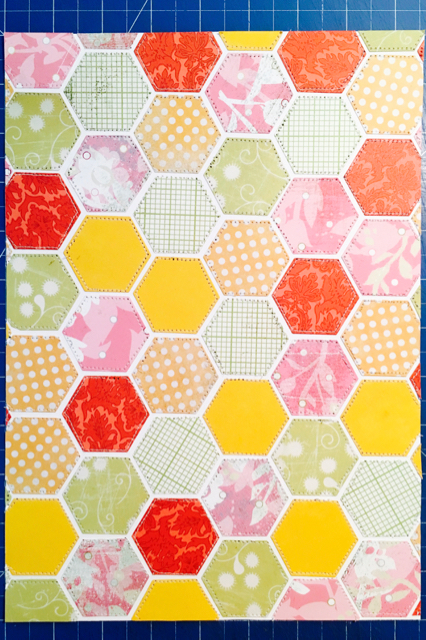
Lisa is feeling very virtuous because she picked out two items from the main kit (the hexagonal chipboard elements and the hexagonal paper) and then patiently took her time to make up her own items! She didn't make a mistake and have to start over like usually happens and she's really thrilled with the results. As usual, they are relatively easy elements and took far less time than you might think

Here are a set of hexagonal die cuts in two different sizes. They are not very thick but will add just a little hint of dimension and fun to her projects. A little die cutting time with a whole bunch of scraps and some chipboard run through the Xyron gives her a whole bunch of variety.


And then she used the larger sized die to cut out a bunch of hexagons from her scraps in shades that matched the colours of the original paper in the Cocoa Daisy kit. Leaving a gap between them matched the design of the Cocoa Daisy paper but then she decided to outline each shape with machine stitching to add a little extra something. She limited it to 12x8.5" with the plan to either use it as a block on the 12x12 or maybe to cut down for cards.

She was totally inspired by our CKC friend Clair who showcased her own paper patchwork in her wonderful {Killing Kits Series} episode 1 here


You can find out all the details of how she made these items as well as more detail shots over on her blog here.


Laura used both her digi skills and good old fashioned paint and felt tip pens to recreate 3 of the elements from the kits.


"I used my digital scrapbooking software to recreate the orange spotty paper (the background paper is from Maggie Holmes Shine collection (digital version) but you could create the same with patterned paper, circle punches and orange cardstock. The speech bubbles again were created with digi scrap software (i use a programme called serif craft artist, sadly no longer available!) And then used Amy Tangerine digi stamps for the wording. Printed out and used watercolour paint to colour in! You could create similar with stamps and even in Microsoft Word. And last of all the doodled journalling card really stood out for me in this kit so i simply cut white card to 3x4, doodled a similar design and then coloured in with my son's felt tip pens!"


Julene has also been inspired by the pocket cards, but put her own twist on them.
Using a bee stamp she made 3 yellow striped bee cards plus found 2 other cards that are almost the same as those in the kit. 

The remaining tag was made by blowing paint through a straw then adhering a sticker over the top.
Simple ideas but they work!


Don't forget to come back again on 6th for some mini-kit inspiration as well as the challenges on 12th and 18th. 

If you create any of your own forgeries, make sure you share with us! We love to see your creations and projects.  You can do this by using the Link-Up page here on the blog, posting in the Counterfeit Kit Challenge Facebook Community Group or on Instagram (find us @counterfeitchallenge and share with #counterfeitchallenge ) 

Thanks for joining us this month and I can't wait to see what you make!

Wednesday, July 4, 2018

July 2018 - Forgery on the Fourth


Lori chose our July mega-inspiration from The Scraproom:
June 2018 Cafe Club Flavors of the Month
June 2018 Doubleshot Club
June 2018 Embellishment Club
June 2018 Shots of Life Pocket Page Kit
June 2018 Patterned Paper Club
Where to begin?!? 
I see Dad/boy, summer/tropical, party & travel.
Have a look at your forgotten stamps & make a custom paper or embellishment.
Project Life cards are always an easy counterfeit.
Mostly paper elements, just pick a mood & go for it!

What will our DT find or forge to help you?


Leslie: Although I haven't had a chance to try it, this DIY foiling tutorial looks so easy!

The patterns are a free download: https://colormadehappy.com/diy-foil-art-prints/
Check out Pinterest for Project Life-style card ideas HERE.

I loved the tropical banner (paper) so gave it a try, plus some PL cards: 

Blogpost HERE
Lori: Since I didn't have a lot of embellishments for my "guy" kit that I put together, I forged some embellishments that I can add to my layouts. You can find out how I made them on my blog here.


Don't forget to come back again on 6th for some mini-kit inspiration as well as the challenges on 12th and 18th. 
If you create any of your own forgeries, make sure you share with us! We love to see your creations and projects.  You can do this by using the Link-Up page here on the blog, posting in the Counterfeit Kit Challenge Facebook Community Group or on Instagram (find us @counterfeitchallenge and share with #counterfeitchallenge ) 
Thanks for joining us this month and I can't wait to see what you make,